Are you tired of constantly repairing your old, worn-out shingle roof? Do you want to upgrade your home’s protection and aesthetics with a durable, long-lasting roofing solution? Look no further than metal roofing! Installing metal roofing may seem daunting, but with the right tools and knowledge, you can do it yourself and save money on professional installation. In this article, we’ll guide you through installing metal roofing and help you achieve a sleek and modern look for your home.
Materials Needed
You will need some essential tools and materials to install metal roofing. We will highlight these tools and materials in this article section.
Required Tools
- Safety equipment (gloves, goggles, sturdy shoes, etc.)
- Measuring tape and chalk line
- Circular saw with metal cutting blade
- Power drill with metal drill bits
- Screw gun or impact driver
- Tin snips or metal shears
- Roofing hammer or pliers
- Roofing screws or clips
- Sealant gun
Required Materials
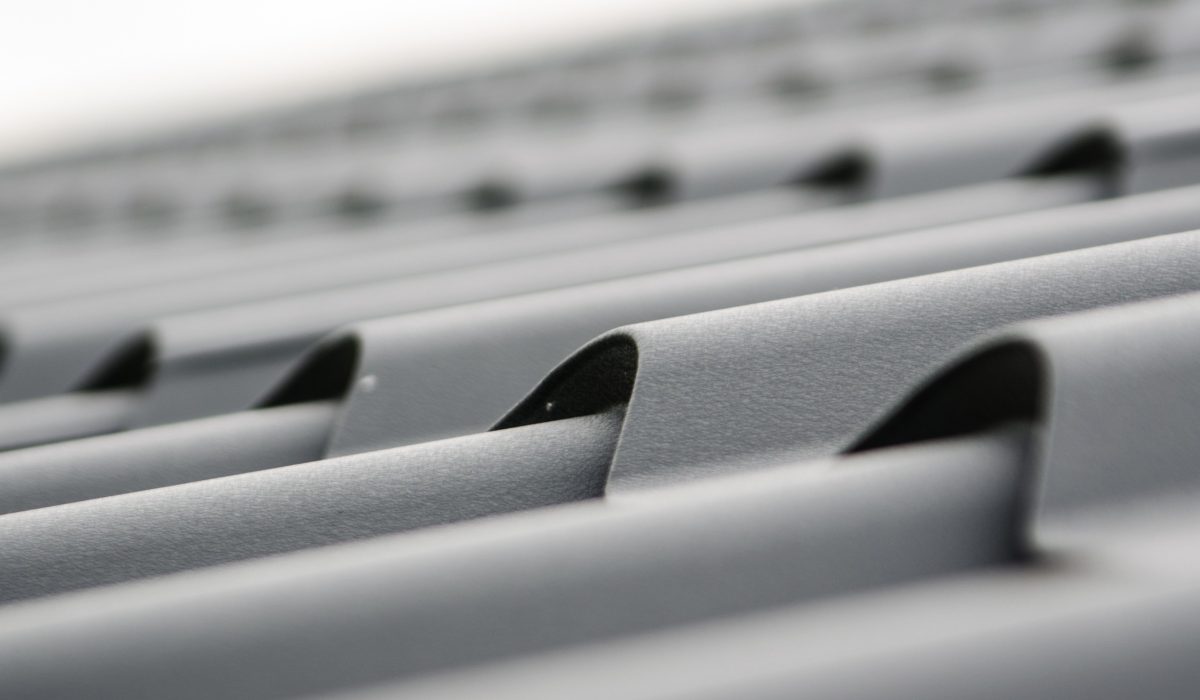
- Metal roofing panels (corrugated or standing seam)
- Underlayment (synthetic or felt)
- Drip edge
- Ridge caps
- Sealant (caulk or roofing cement)
- Screws or clips (depending on the type of metal roof)
- Closure strips (for corrugated metal roofing)
- Flashing (for roof edges, valleys, and penetrations)
Steps For Installing Metal Roofing
Here is a step-by-step guide that explains the processes you can follow to install your metal roofing. Note that while you can do the installation yourself, we highly recommend getting the help of roofing contractors like Shoreline Roofing.
· Step 1: Starting the Installation
To start the installation, you should begin at the bottom edge of the roof and work your way up toward the peak. Lay the first metal panel along the eave while ensuring it’s aligned with the drip edge and overlaps the underlayment by at least 3 inches.
Ensure to use roofing screws to attach the panel to the roof decking. While attaching the screws, endeavor to space them about 12-24 inches apart.
· Step 2: Installing metal panels
Continue installing metal panels along the eave. While doing so, ensure each panel overlaps the previous panel by at least 1 inch.
You can always use roofing screws to attach each panel to the decking. However, always place at least 12-24 inches between each screw.
Also, cut the metal panels to the appropriate size you need. The metal snip will come in handy in this case.
· Step 3: Securing Metal Panels
Secure each panel by fastening them to the roof decking and ensuring they stay flushed with adjacent panels. Additionally, you should check for any gaps or holes and patch them with roofing cement as necessary.
· Step 4: Finishing the Installation
After installing all metal panels, finish the installation by installing the ridge caps along the peak of the roof. Ensure to center the ridge caps over the peak and secure them with screws or clips while remaining flush with the metal panels on either side.
· Step 5: Inspecting the Installation
After completing the installation, inspect the roof surface for any signs of damage or improper installation. Check for any loose panels or screws and tighten them as necessary.
Lastly, you should look for any gaps or holes and patch them with roofing cement.
· Step 6: Cleaning Up
Once the installation is complete, and you’ve inspected the roof, clean up the job site by removing any debris or unused materials. Dispose of any old roofing materials or scraps according to local regulations.
· Step 7: Maintenance
Regular maintenance is important for prolonging the life of your metal roof. Check the roof surface regularly for any signs of damage or wear, such as rust or corrosion.
Additionally, clean the roof surface to remove any dirt or debris. You should promptly repair any damaged or loose panels or screws.
We suggest you consult a professional or manufacturer’s guidelines for maintenance recommendations.
Tips On Selecting The Right Type Of Metal Roofing For Your Home
When selecting the right type of metal roofing for your home, there are a few things to consider to ensure that you make the best choice for your needs. Here are some tips to help you choose the right type of metal roofing:
1. Consider the Climate
The type of metal roofing you choose should suit your area’s climate. For instance, if you live in an area that experiences high winds, you will want to choose a roofing material that can withstand strong wind gusts.
2. Consider your style
Metal roofing comes in a variety of styles and colors. Hence, consider the architectural style of your home and choose a metal roofing material that complements its design.
3. Check your budget
Metal roofing can be more expensive than other roofing materials. So determine your budget and choose a roofing material that fits within it.
4. Installation
Finally, consider the installation process. Some metal roofing materials may require special installation techniques.
In such instances, you may need to choose a professional roofing contractor who is experienced to help you with the installation.
Conclusion
Choosing the right type of metal roofing is important as hiring an experienced contractor to ensure a successful installation. Our team of experts at Shoreline roofing can help you choose the right type of metal roofing for your home.
Fill out our contact form today to schedule a consultation and learn more about our metal roofing services. You can also call us at (250) 413-7967.