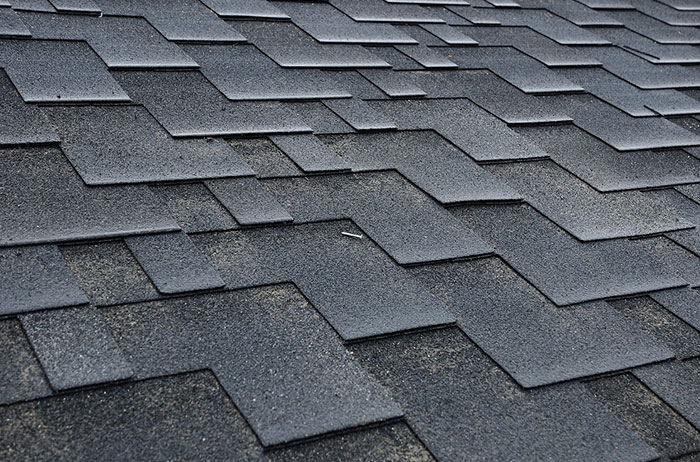
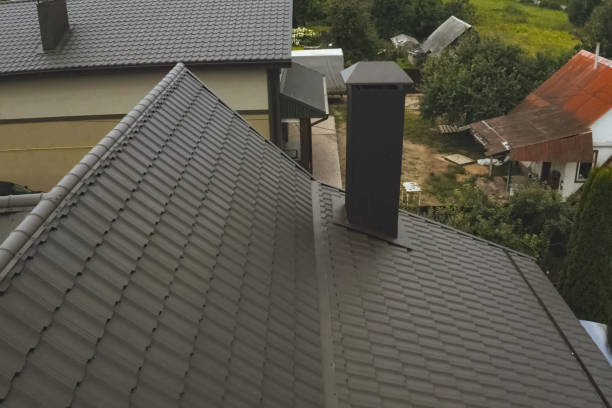
Are you a homeowner dealing with a leaky roof? Not sure how to fix those missing or damaged shingles? Look no further! In this homeowner’s guide, we’ll walk you through the steps of repairing shingles, from identifying the problem to finding the right materials and making the repair. Say goodbye to leaks and say hello to a sturdy roof with our expert roofing repair guide and tips.
Identifying The Problems With Your Shingles
There are several ways to identify possible problems that may cause damage to your roof shingles. Some common signs you can look out for include the following:
1. Missing or damaged shingles
This is the most obvious sign that indicates that there is a problem with your roof. If you notice any missing or damaged shingles, it’s important to address the issue as soon as possible to prevent further damage to your roof and home.
2. Curling or buckling shingles
You should always look for signs of curling or buckling of your roof shingles. If you notice this happening, it could signify that your shingles have reached the end of their lifespan. It could also mean an issue with the ventilation in your attic.
3. Granule loss
If you notice that your shingles are losing granules, it could signify that they are worn out and need replacement.
4. Sagging roof
A sagging roof can indicate a structural issue with your roof, such as rotting or water damage.
5. Leaks
Leaks are a clear sign that there is a problem with your roof. If you notice any leaks, it’s important to address them as soon as possible to prevent further damage to your home.
6. Algae or moss growth
Algae or moss growing on your shingles can indicate a problem with the drainage on your roof.
7. Cracked or blistering paint
Another thing you can look out for is the cracking or blistering of the paint on the interior of your home. Having cracked or blistered paint on the interior of your home could be a sign that there is a problem with your roof. It could also mean that water is seeping into your home.
It’s important to keep an eye out for these signs and address any issues with your roof as soon as possible to prevent further damage to your home. It’s also recommended to have a professional roof inspector like Shoreline roofing check your roof regularly.
Right Materials For Making Roof Repairs
Using the right materials for your roof repair is essential to ensure it is effective and long-lasting. Ideally, you should use materials that match your roof as closely as possible to maintain the aesthetic of your home.
Below are some available options.
· Roofing cement
Roofing cement is a versatile, waterproof adhesive that can seal gaps and repair leaks in your roof. You can also use it to secure loose or missing shingles.
· Flashing
Flashing is a thin sheet of metal or plastic that can seal gaps around vent pipes, chimneys, and other protrusions on roofs. It helps to prevent leaks by redirecting water away from these areas.
· Shingles
Yes, you read that correctly. You can also use newer shingles to repair damaged ones. Shingles are the most common material used to repair a roof. You can use them to replace missing or damaged shingles, and they come in various materials and colors to match your existing roof.
· Roofing tar
Roofing tar is a waterproof sealant. It is often used to seal gaps and repair leaks on a roof. You can also use it to secure loose or missing shingles.
· Ventilations
Roof ventilation is an important aspect of roofing repair. It helps to remove heat and moisture from the attic and prevents condensation, mold, and rot.
· Roofing nails
You can also use roofing nails to secure shingles and other roofing materials to your roof deck. However, you should ensure they are corrosion-resistant and galvanized to prevent rust. It’s also important to use the correct nails for the shingles. For instance, using a ring-shank nail is best for asphalt shingles.
How To Repair Shingles
Repairing shingles can be daunting for homeowners, but you can easily accomplish this by applying everything we’ve discussed.
Nevertheless, here is a step-by-step guide on how to repair shingles:
· Identify the problem
The first thing you should do when you want to repair shingles is to identify the problem. Look for missing or damaged shingles, curling or buckling shingles, granule loss, leaks, algae or moss growth, and cracked or blistering paint.
· Gather materials
Once you have identified the problem, gather the materials you will need for the repair. These could include shingles, roofing nails, cement, flashing, tar, and a ladder.
· Remove the damaged shingles
Next, remove the damaged shingles. You should ensure not to damage the shingle’s surrounding while doing that.
· Prepare the area
Clean the area where you want to lay the new shingles and ensure it is dry before proceeding. If necessary, ensure to secure the area by applying a layer of roofing cement.
· Install the new shingles
Place the new shingles in that area. Ensure you line them up correctly, and you can fasten them with the appropriate roofing nails.
· Seal the edges
Use roofing cement or tar to seal the edges of the new shingles to prevent leaks.
· Inspect the area
Check to ensure the repair is secure and that there are no leaks.
Conclusion
It’s important to remember that if the problem is too big or complicated, it’s best to consult a professional roofer for assistance. You request assistance from us at Shoreline roofing.
Call us at (250) 413-7967 or fill out our contact form if you need the help of our roofing professionals for your roofing repair.


